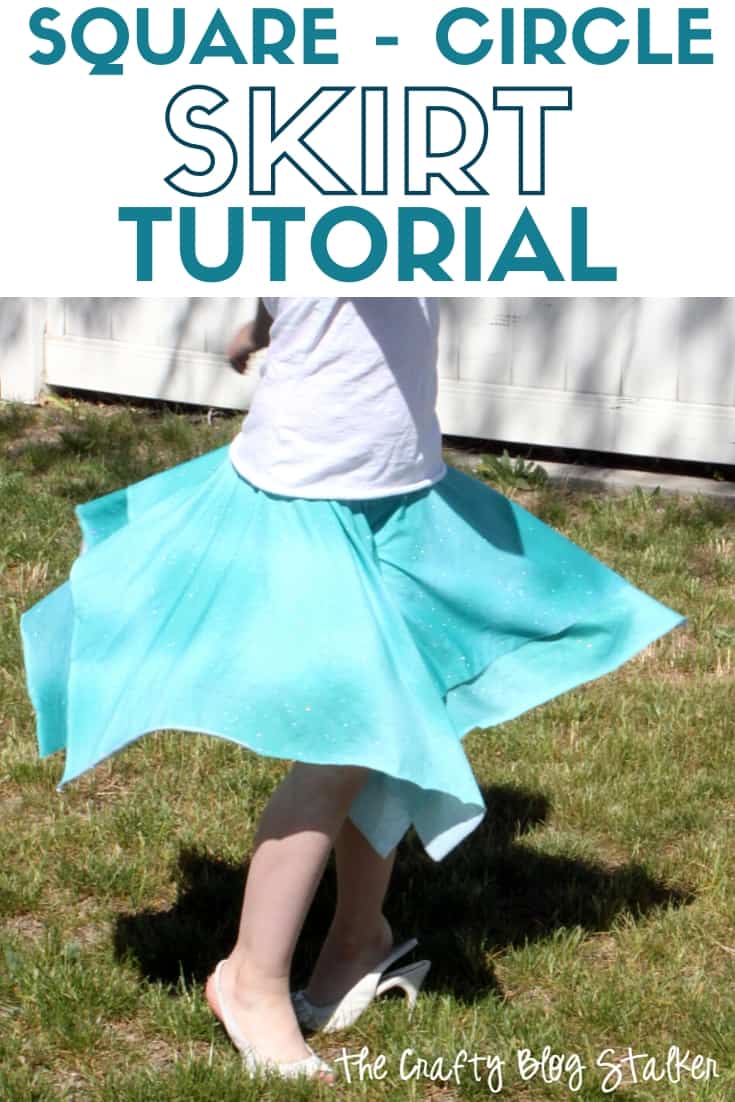
Want to learn how to make a layered square circle skirt with an elastic waist? Then you have come to the right place!
This type of skirt is also known as a hankerchief skirt, and it is so easy to sew with this step by step tutorial.
I made one for each of my three girls and they love to spin while wearing their fun skirts.
Before we get into the tutorial we are going to answer some common questions about sewing circle skirts. If you don’t need this information, feel free to skip to the tutorial below.
What are the best fabrics for a circle skirt?
The key to fun circle skirt is the lightweight fabric. You want it to sway naturally and of course it has flow out when spinning!
The skirt below, I sewed using a polyester fabric, but other great choices are rayon, and cotton.
If you are a beginner sewer, cotton is much less slippery and will be easier to handle.
How to calculate a circle skirt waist?
There is some math when calculating how big to cut the waist hole, but I have tried to break it down for you so it is as easy as possible
- Measure the waist in inches and then add 2 inches.
- Take your new waist measurement (waist plus 2 inches) and divide by 6.28. This will give you the radius.
Example: Liza’s waist is 24 inches. Plus 2 makes 26. Divide 26 by 6.28, the radius of her waist is 4.14 inches!
You can use this measurement for any waist size, so if you want to make an adult skirt, this math with work to find your waist radius.
How to Make a Pattern for the Waist Opening
Before we cut the waist out of the skirt, we will be folding the fabric into fourths, so you only need to create pattern that is a quarter of a crircle.
Take a piece of paper that is larger then your radius.
Measure out from the bottom left hand corner the waist radius we determined above. If you can get exact, don’t worry about it, just get as close as you can.
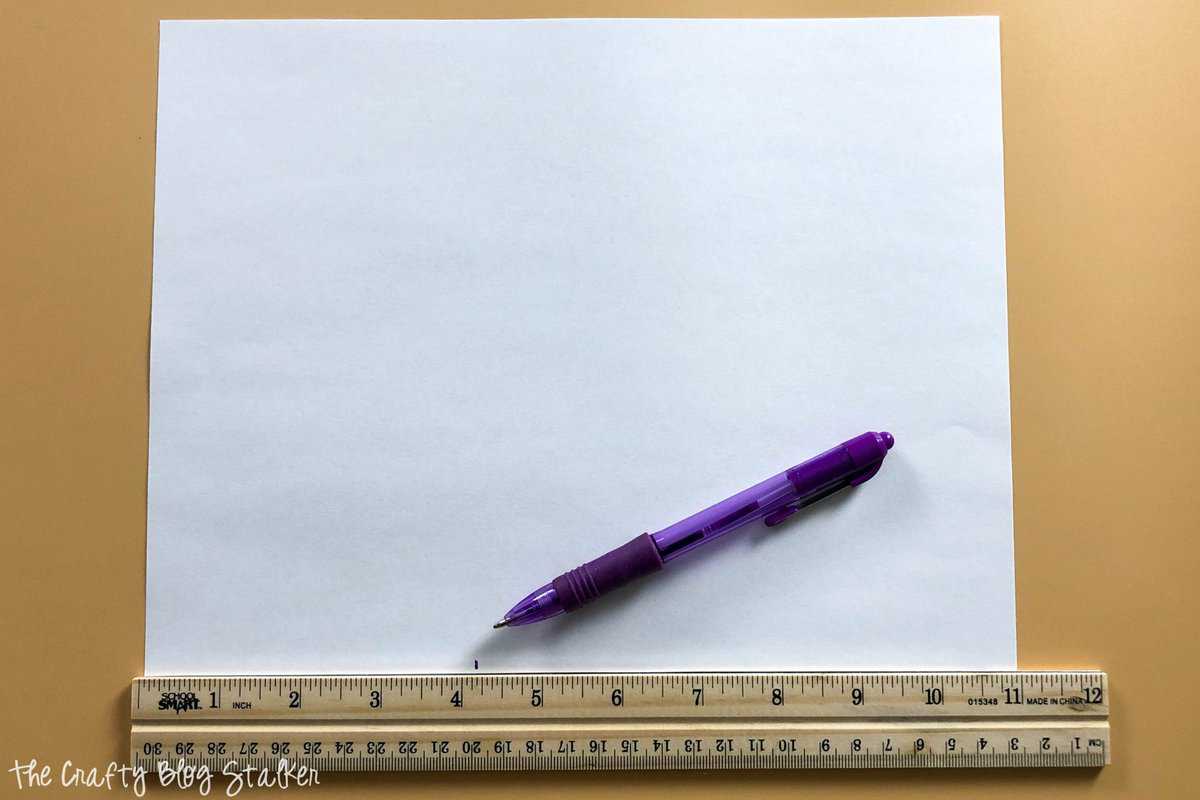
Repeat, measuring up from the bottom left corner with the same waist radius measurement.
Tie a piece of string to your pen or pencil.
Holding the string tight in the corner, draw the arc from left mark on the left side of the paper to the bottom mark on the paper.
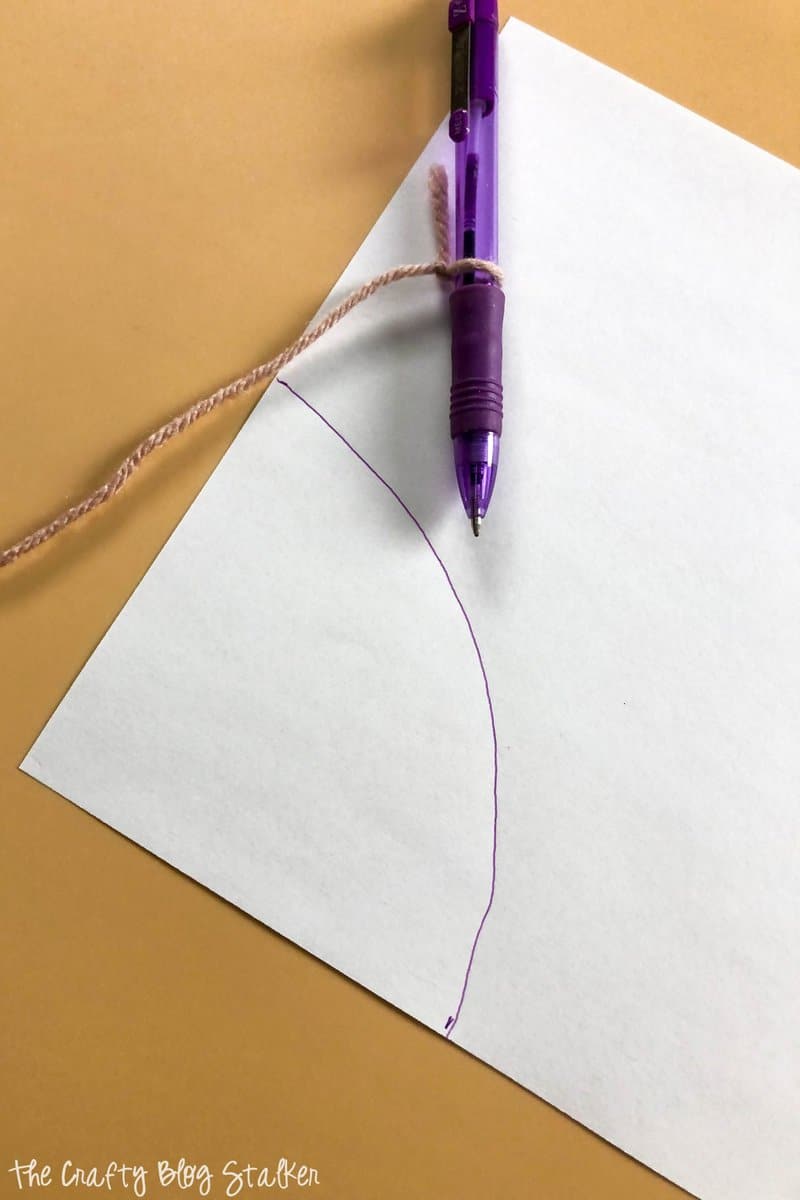
Cut your pattern out with a pair of scissors. There is your waist pattern for your layered square circle skirt.
What is a Layered Square Circle Skirt?
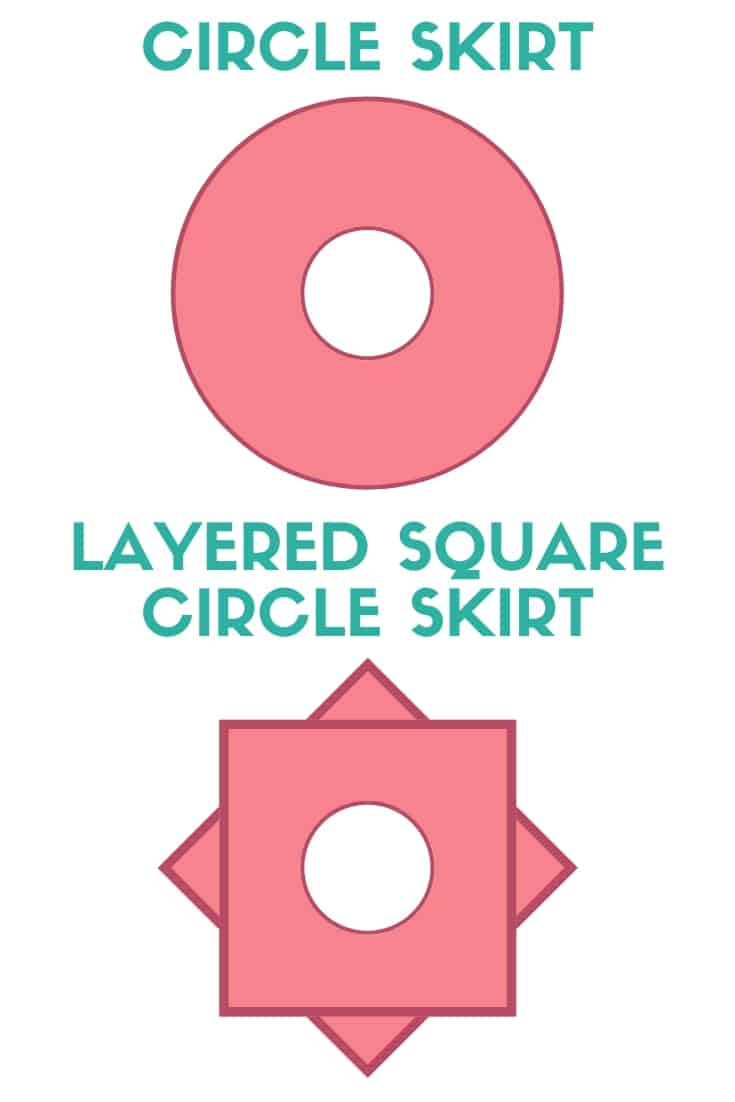
The circle skirt and the layered square skirt is very similar. Really the only difference is the finished shape.
You can see in the image below that the finished circle skirt, is a circle. Crazy, it’s in the name!
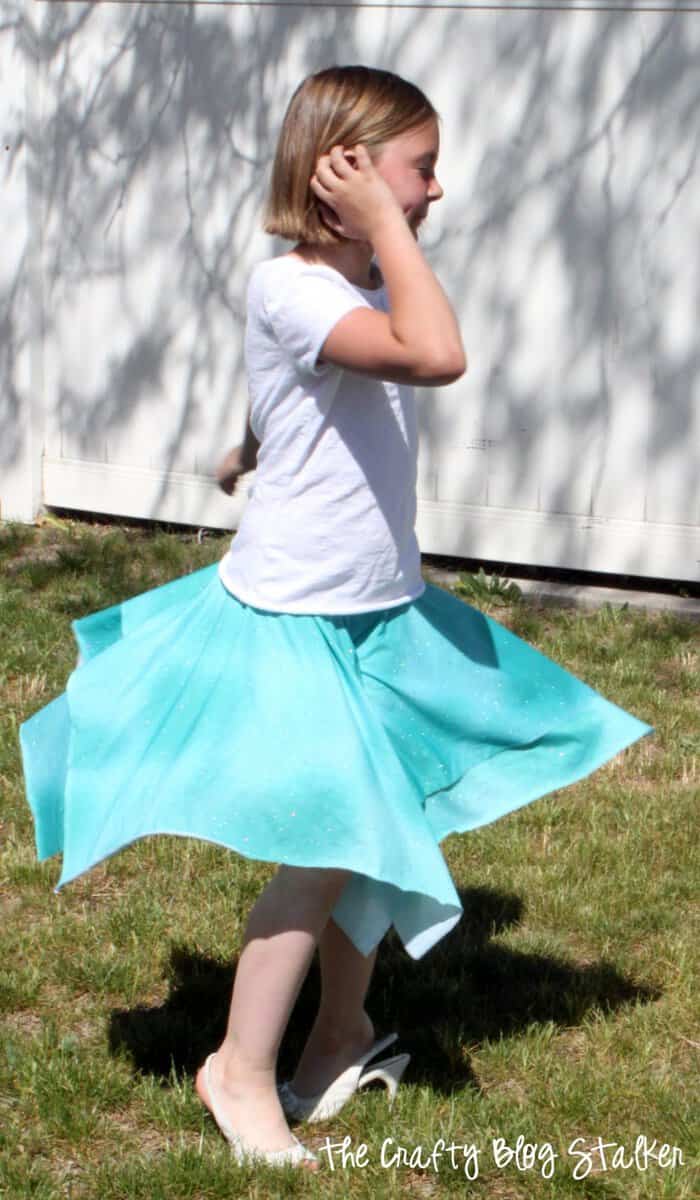
The finished square circle skirt has points. That is because we are using two layered squares as the skirt, not a circle.
Make sense? Feel free to ask any questions you may have in the comments below.
Now let’s get to the step by step tutorial! Let’s start with the supplies needed.
Supplies Used to Sew a Layered Square Circle Skirt
Items linked below may go to similar items when exact items couldn’t be found online. Links are affiliate so when you purchase, I will get a small kickback to help fund the next tutorial!
- 1 Yard of Lightweight Fabric
- 2-inch Wide Elastic – 1 yard
- Sewing Machine– I use a Singer Fashion Mate 5500
- Serger Machine – optional
How to Sew Easy Circle Skirts for Summer
For each skirt, I bought 1 yard of 100% Polyester fabric. I wanted all of their skirts to be a bit different so I bought the same fabric just in different colors.
The fabric I purchased was 59 inches wide and since I bought a yard it was 35 inches in length.
I knew if I did two layers of perfect squares one yard wouldn’t be enough so I decided to cut the piece of fabric into rectangles and then I would layer them opposite of each other so the skirt would still have equal length all the way around. So each rectangle measured 35 x 29 1/2 inches.
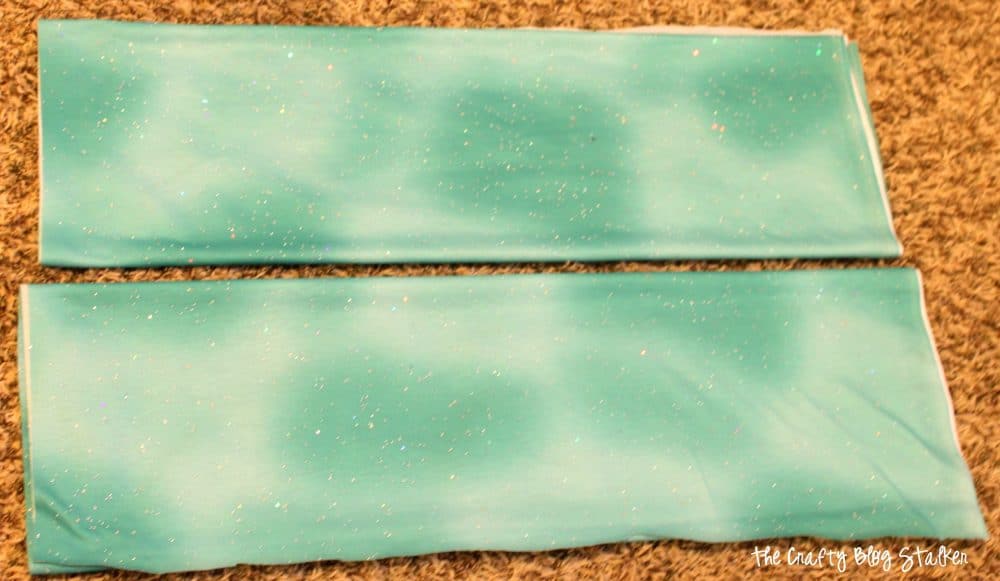
Before you cut the hole for the waist, layer the fabric with the right side facing down. Since I am dealing with rectangles and not squares, I laid the rectangles down in different directions.
If you are using squares simply offset them .
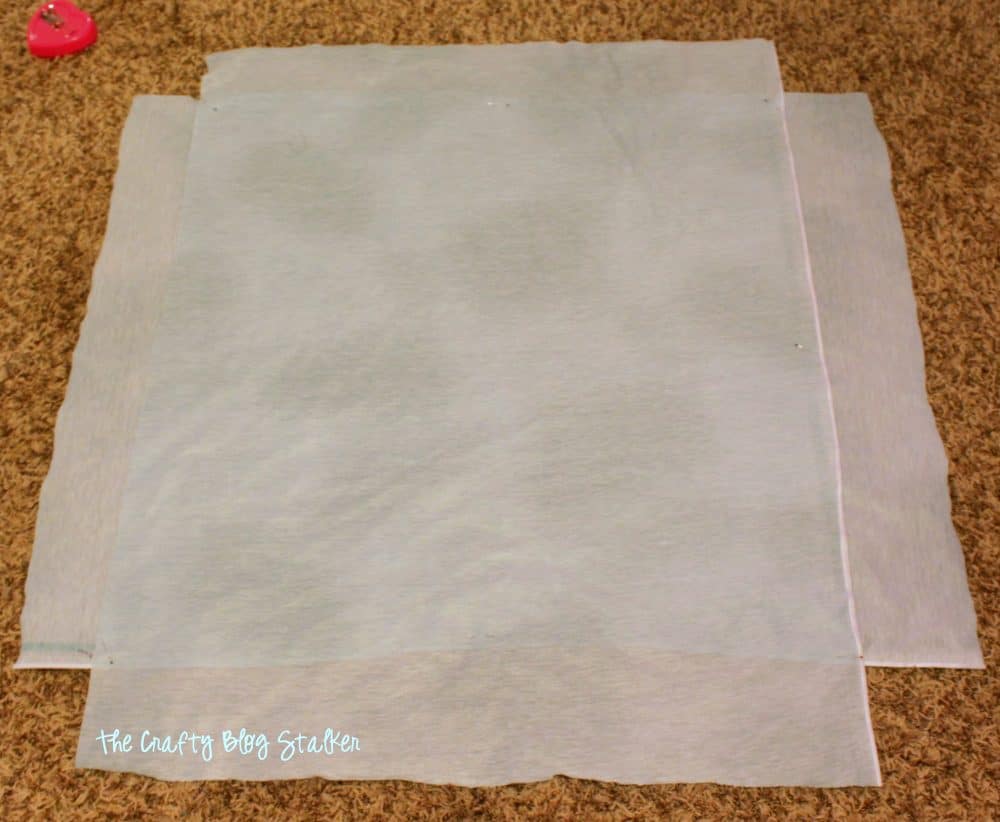
Fold the layers in half and then in half again.
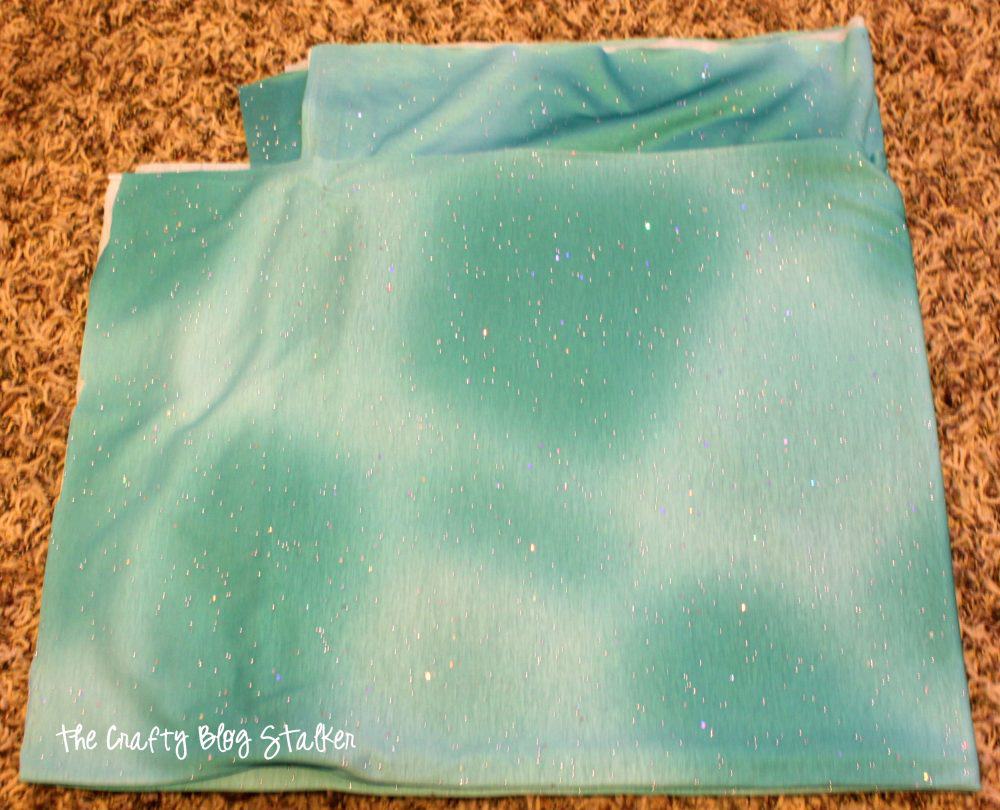
Take the waist pattern we created above and place it in the folded corner of the fabric.
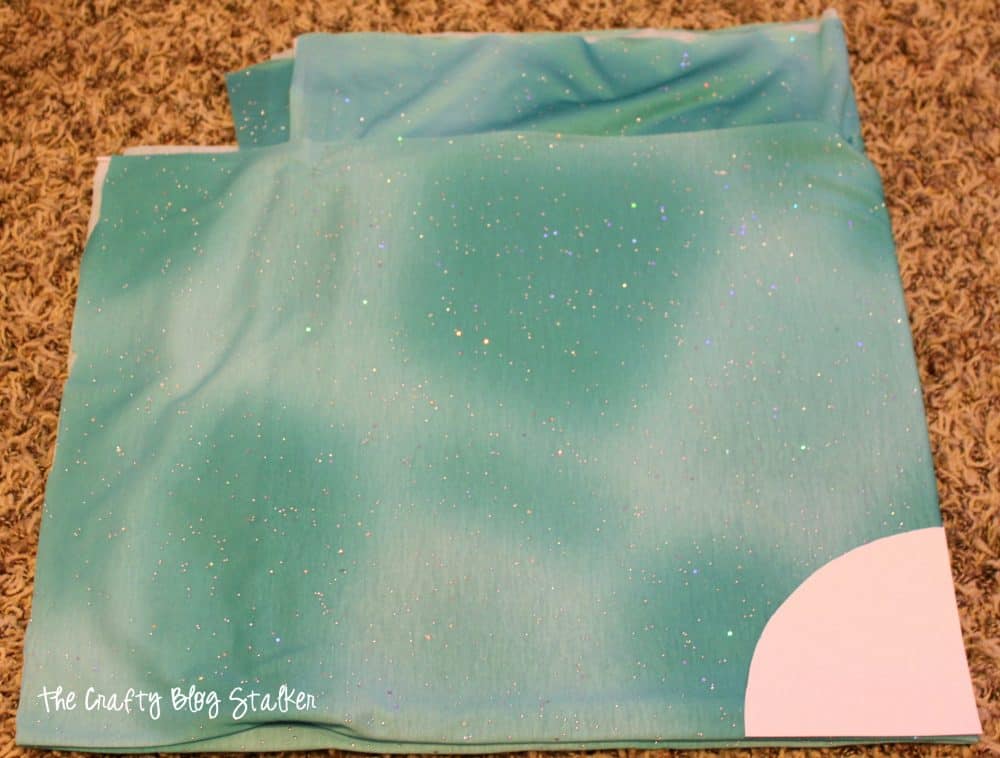
Cut. Pin the layers together and sew around the waist. I used a serger, you could use a sewing machine as well.
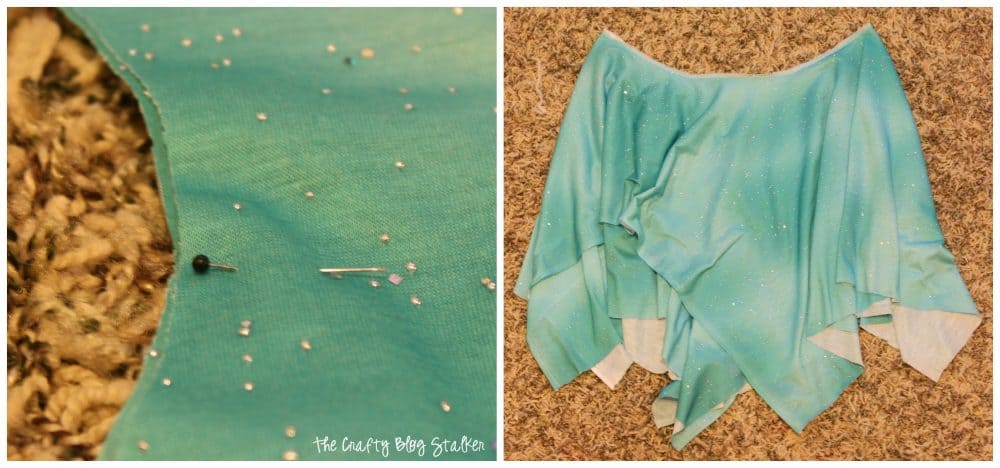
Then comes the last step of sewing on the Elastic Waist Band.
For the waist elastic, use the actual waist measurement, plus 1 inch.
Fold the elastic in half and sew it together using a 1/2 inch seam allowance.
Fan the seam on the elastic out and sew down each side.
On the right side of the fabric pin the elastic into place. You may need to gather the fabric a bit to make the waist fit the elastic.
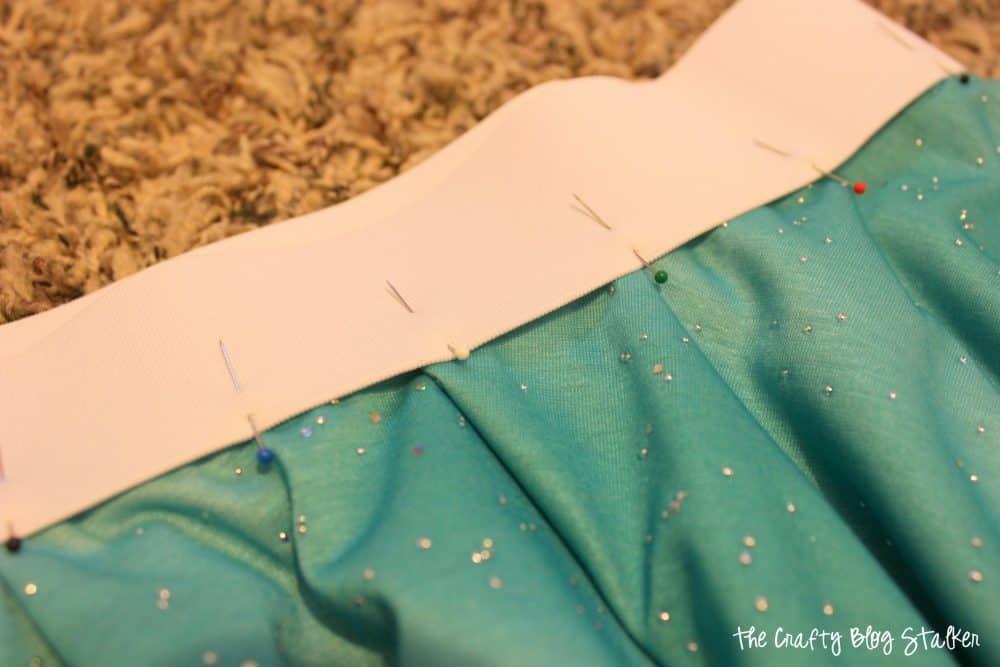
The polyester fabric I purchased doesn’t need to be hemmed because the raw edge won’t fray!
But if you are using cotton fabric, hemming would be the next step.
Now that he hankerchief skirt is finished all that is left is to twirl!!
What other types of items do you like to sew? Share and leave a comment below!
CLICK HERE TO SAVE HOW TO SEW A LAYERED SQUARE CIRCLE SKIRTS WITH ELASTIC WAISTBAND TO YOUR FAVORITE PINTEREST BOARD!
Follow me on Pinterest and you can see all the DIY projects I’m pinning!
You Might Also These Tutorials:
- Minky Rag Quilt
- Fabric Strip Rag Quilt
- Ipad Mini or Kindle Case Sewing Pattern
- Add Length to a Skirt
- Pencil Skirt from 2 Tank Tops

The post How to Sew Layered Square Circle Skirts with Elastic Waist appeared first on The Crafty Blog Stalker.
